
ZED ZONE Ending: Area 61 Walkthrough
The ZED ZONE ending walkthrough: opening Area 61 with three access devices, the surface facility, the Supreme Intelligence, and the submarine escape.
Area 61 is the end of the 1.0 story. It is not a single boss room; it is a surface facility, an underground section, a three-phase final boss, and a submarine escape. The game lets you keep playing after the credits, so the ending is a milestone, not a save wipe.
This walkthrough covers the unlock, the preparation, the route structure, the boss, and what happens after. It avoids puzzle spoilers that the game signposts itself; the value is in the prep and the order.
Official source: ZED ZONE on Steam ↗
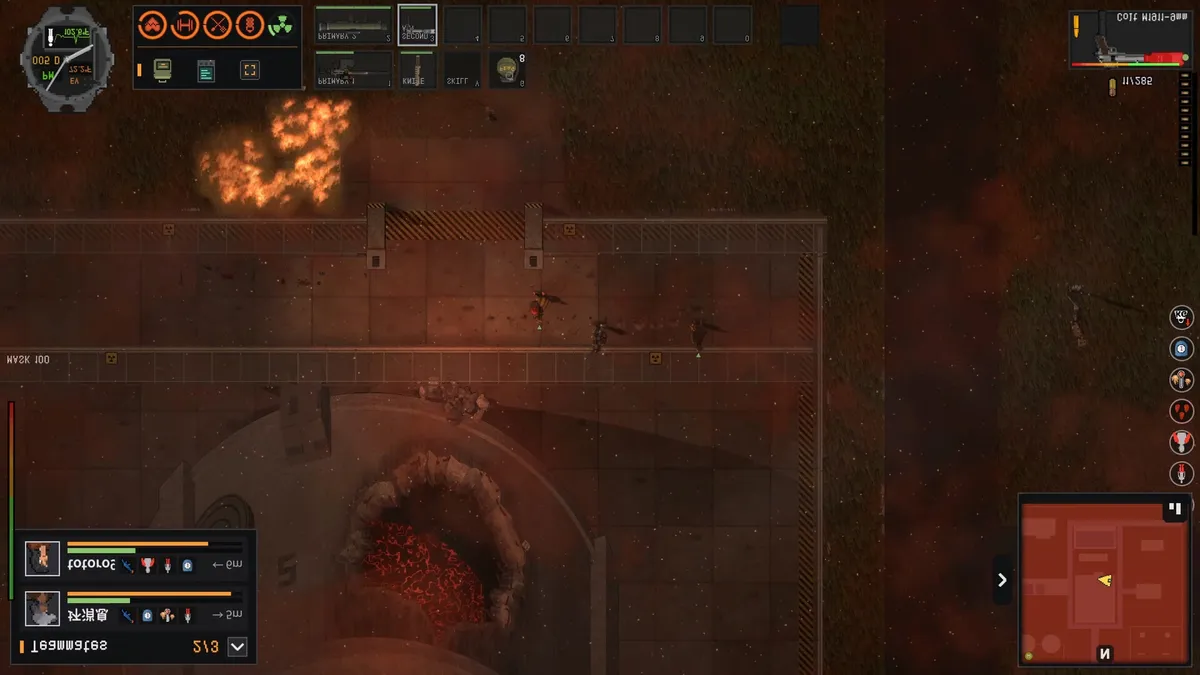
Area 61 has a surface fight and a underground descent. Clear and mark the surface entrance before you commit, so a wipe does not cost the whole trip.
Opening Area 61
You need three access devices. Each comes from an Area Guardian on Far Island:
- Augmented Security Captain at the port.
- Corpse Amalgam at the RNA Lab.
- Factory Warden at the automated factory.
The devices are quest items. Do not sell them, do not leave them in a car you might lose, and do not assume a co-op guest's device counts. The host's world tracks the unlock.
With all three, the Area 61 gate opens. The entrance is a facility, not a cave; expect military architecture, locked doors, and automated defences.
The boss guide→ covers each guardian if you are stuck on a device.
Before you enter
Area 61 is a long run with no free resupply. Treat it like a raid:
- Weapons: a rifle with AP ammo, a shotgun, and a melee weapon. A GM6 Lynx or railgun if you have one.
- Ammo: two full reserves for the rifle, one for the shotgun.
- Medical: bandages, a first aid kit, painkillers, blood bag.
- Food and water: two meals, two bottles.
- Repair: a firearm repair kit and an item repair kit.
- Radiation: a gas mask and tablets, even though the facility is not the plant. Contaminated sections exist.
- Utility: lockpick, flashlight, batteries.
Leave the base with a clear inventory. The facility has loot, and you will want room for it.
The surface facility
The surface is a multi-level facility. The route is signposted by access control: locked doors, keycard readers, and power switches. The general structure:
- Enter and clear the lobby. Establish a fallback point near the entrance.
- Restore power. The facility has sections without lights or doors; a power switch opens the route.
- Find the access control. The three devices are used here to unlock the descent.
- Clear the security wing. Mechs and turrets; use cover and AP ammo.
- Descend. The underground entrance is the point of no return for the session's pacing; stock up before you take it.
Do not try to clear every room on the surface. The facility is large, and the underground is the main event. Mark the route on the PDA so you can retreat if you run low.
The underground
The underground is the boss route. It is tighter than the surface, with more ambushes and less room to kite. The confirmed beats:
- Service corridors — narrow, with dormant infected and turrets.
- Containment rooms — the facility's experiments; expect special infected.
- The core approach — the final boss arena.
The boss is the Supreme Intelligence. The 1.0.5 patch changed its later phases:
- Phase one: positioning and sonic attacks. Use cover.
- Phase two: a three-hit sonic wave. Move between volleys.
- Phase three: cross-fire. The safe lane moves; keep moving and do not greed a reload.
The boss is immune to the sonic-cone stun, but the skill is useful for the adds. The 45-degree cone has 20 metres of range, strong knockback, 1.5 seconds of stun, and a 15-second cooldown.
The submarine escape
After the boss, the submarine is the escape. The ending sequence triggers when you board. The game does not lock the world; you can continue playing after the credits.
If you are playing co-op, the host's ending is the one that triggers. Guests see the sequence, but the world state is the host's. Decide before the final fight whether everyone is ready to finish.
After the ending
The post-ending state lets you keep the character and the world. You can:
- Finish the remaining Far Island content.
- Hunt the Giant Mutant Lizard.
- Build, farm, and craft.
- Start Cataclysm mode, which unlocks after clearing Standard.
- Play Horde mode with cross-run progression.
The ending is not a New Game Plus with a reset; it is a story conclusion. If you want a fresh start, make a new character or a new world.
Common mistakes
- Entering without all three devices. The gate will not open.
- Selling a device. It is a quest item; the vendor will not give it back.
- No AP ammo. The facility's mechs resist small arms.
- No repair kit. A jammed rifle in the underground is a death sentence.
- Clearing every surface room. The underground is the goal; conserve ammo.
- Finishing in co-op without agreement. The host's ending triggers for everyone.
Co-op notes
The host's access devices are the ones that count. If a guest has a device from their own world, it does not open the host's Area 61. The host should collect all three in the host's world.
The final boss's special drop is per player in co-op. If you killed the boss before 1.0.5, the Computing Core can compensate the drop once. The multiplayer guide→ covers the shared-save rules.
FAQ
How do I open Area 61?
Collect the three access devices from the port captain, the RNA Lab amalgam, and the factory warden. Use them at the Area 61 access control.
How many phases does the final boss have?
Three. The 1.0.5 patch added a three-hit sonic wave in phase two and cross-fire in phase three.
Can I keep playing after the ending?
Yes. The world remains open, and Cataclysm and Horde modes are available.
Does co-op get the ending?
Yes, when the host triggers it. Guests keep their characters but not the host's world state.
Sources
- ZED ZONE store page ↗ — Area 61 and ending feature.
- ZED ZONE news hub ↗ — access devices, final boss phases, submarine ending.
- ZED ZONE Community guides ↗ — route notes.
- ZED ZONE on SteamDB ↗ — build history.
More ZED ZONE Guides
ZED ZONE console commands for 1.0: how to open the console, the four working command types, and a verified item and infected ID table.
ZED ZONE crafting in 1.0: the eight workbenches, the material chain, ammo press recipes, repair kits, and the order to unlock each station.
A ZED ZONE enemies guide: every infected type, the mechs and war machines, the Giant Mutant Lizard, and the tactics that actually work against each.
ZED ZONE Far Island guide: how to repair the boat, the ten new areas, the railway power loop, and a route that reaches Area 61 without wasting trips.
ZED ZONE farming in 1.0: planting pots, twelve crops, watering and fertilizer, mushroom caves, and the recipes that make a farm worth the space.
ZED ZONE food and cooking: clean water, the campfire and hob, meal buffs, preservation, food poisoning, and the best meals before a boss.
A practical ZED ZONE 1.0 guide: what changed, which route to take first, and the systems that decide whether your run survives week one.
How to play ZED ZONE in 1.0: the full keyboard map, mode selection, save rules, and the first-hour route that gets a new survivor to a stable base.