
ZED ZONE Base Defense: Traps and Turrets
ZED ZONE base defense in 1.0: spike lines, mines, the four turret types, power wiring, and a layered layout for horde nights and Cataclysm.
A ZED ZONE base is not safe because it has walls. It is safe because the walls funnel enemies into a place where traps and turrets can kill them. The 1.0 build added automatic turrets, electric fences, and a deeper trap list, but the underlying rule is unchanged: layers, not a single wall.
This guide covers the defensive items, their power needs, and a layout that works for a solo base and a co-op compound.
Official source: ZED ZONE on Steam ↗
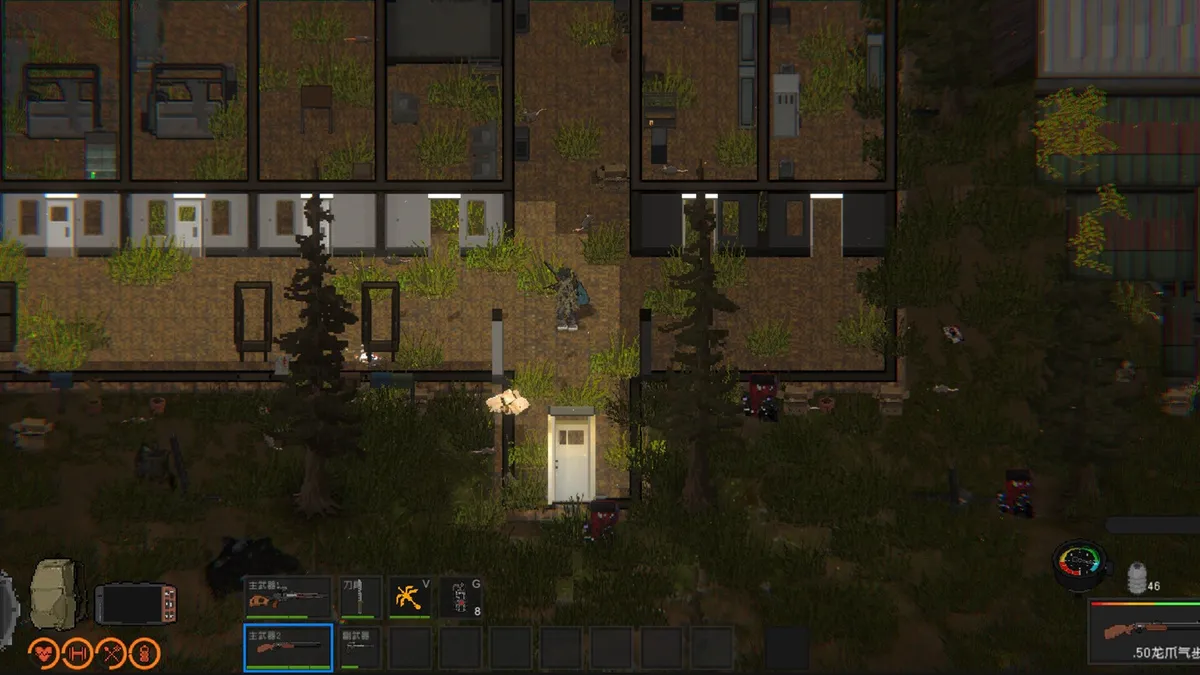
Wood spikes buy time; they are not permanent walls. Repair or replace them after every horde night and keep a second line behind the first.
The layer model
Think in four layers:
- Detection — lights, a clear approach, and a fence line that slows enemies without hiding them.
- Attrition — spikes, mines, and wires that damage enemies before they reach the wall.
- The wall — stone or metal blocks that force a path.
- The fallback — an inner room with a door, a bed, and a second exit.
Most players build layer three and skip one, two, and four. That is why a Breaker walks through the front door and corners them in the kitchen.
Spikes and barriers
Spike traps are the cheapest attrition layer:
- Wooden spikes — cheap, low damage, good against common infected.
- Metal spikes — more damage, more cost, better against armoured enemies.
- Sharp metal spikes — the highest damage tier; worth it on a main approach.
Place spikes in rows, not a single line. A row of three gives an enemy three damage ticks before it reaches the wall. Leave a gap for your own path, and mark it with a light or a different floor block so you do not impale yourself at night.
Barricades and fences slow enemies but do not kill them. Use them to shape the approach, not as a substitute for a wall.
Mines and explosives
Mines are one-shot area denial. The confirmed families:
- Landmine — standard pressure trigger.
- Handmade landmine — cheaper, less reliable.
- High-explosive landmine — the big one; do not place it next to your wall.
- Homemade barrel bomb — a large improvised explosive, best triggered remotely or by a thrown item.
- Animal trap / bird trap — food, not defense, but they can be placed outside the wall.
Mines do not distinguish friend from foe. Mark the field with a sign, a light, or a painted floor, and tell your co-op group where it is. A teammate stepping on a high-explosive mine is a worse loss than the mine.
Fireworks launchers are a distraction tool: they make noise and pull enemies toward the launcher. Place them away from the wall you want to protect.
Turrets
The 1.0 build added four automatic turret types, unlocked through the skill tree:
| Turret | Ammo / power | Strength | Weakness |
|---|---|---|---|
| Machine gun turret | Various calibres | High rate of fire, flexible | Eats ammo |
| Crossbow turret | Arrows | Cheap, recoverable ammo, early | Low rate of fire |
| Tesla turret | High-Power Battery Module | Area damage, slows | Power-hungry, short range |
| Laser turret | Battery | Long range, high damage, penetration | Slow fire rate, power-hungry |
The machine gun turret is the generalist. It can load different calibres, which makes it flexible, but it will empty a chest of ammo in one horde night. The crossbow turret is the early-game workhorse: arrows are cheap, recoverable, and quiet. The tesla turret is a crowd-control tool; it needs a High-Power Battery Module and a lot of power. The laser turret is the long-range killer; it is slow, so pair it with a spike line that holds enemies in its line of fire.
Turrets need line of sight. A turret behind a wall shoots the wall. Place them on a roof, a balcony, or a corner with a clear arc, and protect them with a railing or a window frame.
The electric fence
The electric fence is a powered barrier that damages and knocks back enemies. It needs a Stirling Generator and a power connection. It is excellent on a narrow approach and useless as a full perimeter; the power draw adds up, and a single fence segment does not cover a wall.
Pair the fence with a spike line: the spikes slow the enemy, the fence damages and pushes it back, and the turret finishes it. That combination is the core of a mid-game defense.
Power wiring
A defensive power setup:
- Generator — fuel, outdoor or ventilated.
- Battery module — stores power for the night.
- Stirling Generator — dedicated power for the electric fence.
- High-Power Battery Module — dedicated power for the Tesla turret.
- Switches — turn off non-essential lights during a horde to save power.
Do not put the generator inside the bedroom. It is noisy, it needs fuel, and a fire in the base is worse than a breach. Build a small power shed against an outer wall.
A layout that works
For a 6×6 base on flat ground:
- Outer ring: a fence or a low wall with one gate.
- Approach: three rows of spikes along the gate path, with a marked safe lane.
- Kill zone: a short corridor between the spikes and the wall, covered by one machine gun turret and one crossbow turret.
- Wall: stone blocks, metal door, a window for firing.
- Inner fallback: a room with a bed, a second door, and a chest with ammo and medical supplies.
The kill zone is the important part. If enemies can reach the wall from every direction, your turrets have to cover 360 degrees and your traps are spread thin. A single funnel concentrates damage.
Horde night and Cataclysm
Horde mode attacks the trader's RV camp, not your base, but the same layering applies: spikes, a choke point, turrets, and a fallback. The mode gives you airdrops between waves, so ammo is less of a constraint than in the story.
Cataclysm sends a horde every five days and a calamity enemy every seven. The calamity enemy is the real test; it has enough health to walk through a spike line and reach the wall. Keep a heavy weapon and a repair kit in the fallback room.
The enemies guide→ covers the Breaker, Juggernaut, and mech behaviour.
Defense against mechs
Mechs are armoured and ranged. Spikes do little to a Spider Robot, and a machine gun turret may not penetrate. The answers are:
- Tesla turret — slows and damages groups, but not a single armoured mech.
- Laser turret — long-range penetration.
- GM6 Lynx or railgun — manual anti-armour.
- Cover — fight from a doorway, not the open yard.
Do not rely on a wooden wall to stop a War Machine. It will not.
FAQ
What is the best turret?
The machine gun turret is the best generalist. The crossbow turret is the best early turret. The laser turret is the best long-range anti-armour turret.
Do turrets use your ammo?
Yes. The machine gun turret loads from a container or your stock, and it will empty it. Keep a dedicated ammo chest.
Do mines hurt teammates?
Yes. Mark the field and tell your group.
How do I power the electric fence?
A Stirling Generator and a connection to the fence. Check the power panel before a horde.
Sources
- ZED ZONE store page ↗ — turrets, traps, power.
- ZED ZONE news hub ↗ — 1.0 defense and Cataclysm details.
- ZED ZONE Community guides ↗ — trap and turret notes.
- ZED ZONE on SteamDB ↗ — build history.
More ZED ZONE Guides
ZED ZONE console commands for 1.0: how to open the console, the four working command types, and a verified item and infected ID table.
ZED ZONE crafting in 1.0: the eight workbenches, the material chain, ammo press recipes, repair kits, and the order to unlock each station.
A ZED ZONE enemies guide: every infected type, the mechs and war machines, the Giant Mutant Lizard, and the tactics that actually work against each.
ZED ZONE Far Island guide: how to repair the boat, the ten new areas, the railway power loop, and a route that reaches Area 61 without wasting trips.
ZED ZONE farming in 1.0: planting pots, twelve crops, watering and fertilizer, mushroom caves, and the recipes that make a farm worth the space.
ZED ZONE food and cooking: clean water, the campfire and hob, meal buffs, preservation, food poisoning, and the best meals before a boss.
A practical ZED ZONE 1.0 guide: what changed, which route to take first, and the systems that decide whether your run survives week one.
How to play ZED ZONE in 1.0: the full keyboard map, mode selection, save rules, and the first-hour route that gets a new survivor to a stable base.