
ZED ZONE Skills: Trees, Vials and PDA
ZED ZONE skills in 1.0: the Melee, Firearms, and Fitness trees, vial costs, the PDA actives, and the builds that work for solo and co-op.
ZED ZONE's skill system is the slowest progression axis in the game. You do not level up by killing; you collect mutant tissue and special infected flesh, render it into vials, and spend the vials to unlock nodes. A player who spreads vials across every tree ends up mediocre; a player who commits to one damage tree and one survival tree becomes dramatically stronger.
The 1.0 build lists three categories — Melee, Firearms, and Fitness — with six directions, more than twenty paths, and over sixty skills. The PDA terminal unlocks the tree and the active skills.
Official source: ZED ZONE on Steam ↗
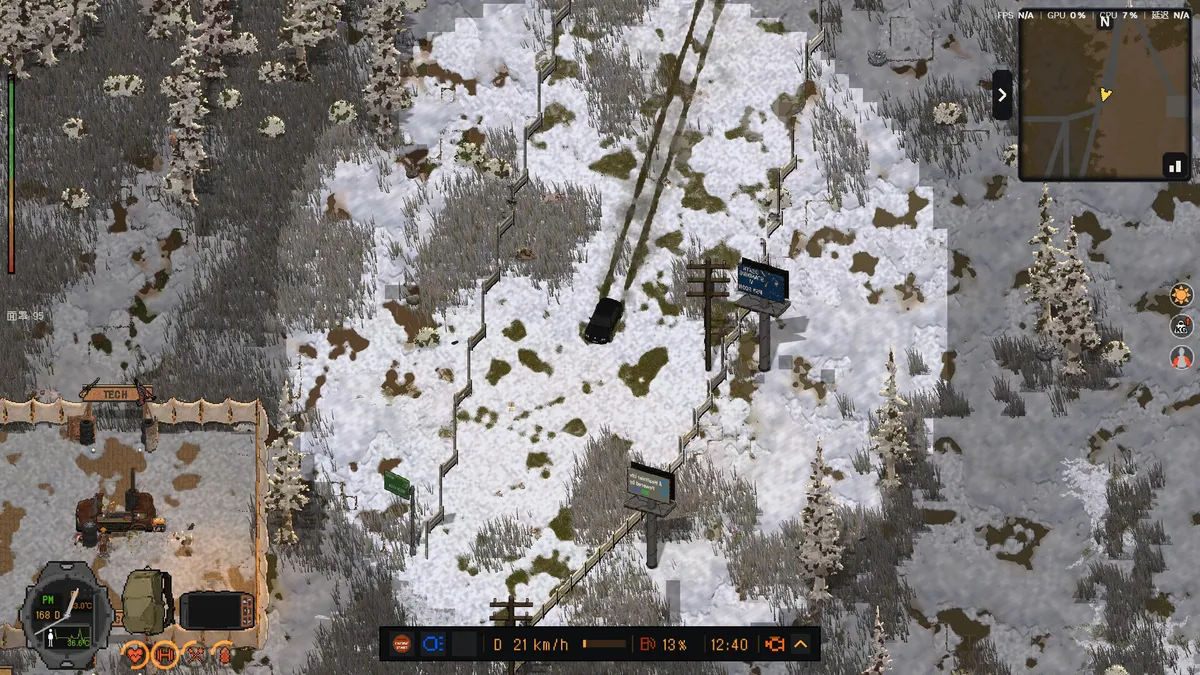
Plan two or three skills you actually use instead of spreading doses across every branch. A focused build reaches its power spike sooner.
How vials work
Vials come in three colours: blue, green, and red. You make them at the crafting menu from mutant tissue and the flesh of special infected. Each skill tier costs more vials than the last, and the colour requirement changes as you go deeper.
The practical loop:
- Kill special infected and harvest the tissue.
- Render the tissue into vials at the crafting station.
- Open the PDA skill tree.
- Spend vials on a node.
- Test the node in a controlled fight, not in a boss room.
Do not spend vials the moment you get them. Save for the next tier of your main path; a tier-two node is usually worth more than two scattered tier-one nodes.
The three trees
Melee
The Melee tree covers blades, blunt weapons, polearms, and close-quarters survival. Confirmed skills include:
- Roll Counter — a dodge follow-up.
- Ambush — bonus damage from stealth.
- Second Wind — recovery at low health.
- Bloodlust — healing or damage on kill.
- Deadly Strike — critical melee damage.
- Ground Slam — area knockdown.
- Polearm Mastery — polearm damage and handling.
- Blade Mastery — blade damage and handling.
- Stagger — interrupt enemy attacks.
- Executioner — finisher damage.
- Combo Strike — chained attack bonus.
Melee is the best tree for players who clear buildings quietly. It saves ammo, it scales with the katana and fire axe, and it gives you an answer when a gun jams.
Firearms
The Firearms tree covers pistols, rifles, shotguns, bows, and air guns. Confirmed skills include:
- Bow Expert — bow damage and draw.
- Steady Arm — reduced sway.
- Full Draw — maximum bow damage.
- Crossbow Expert — crossbow handling.
- Crossbow Fast Reload — reload speed.
- Bolt Penetration — armour penetration.
- Crit Hit — ranged critical chance.
- Barrel Cooling — heat and recoil management.
- Ranged Weapon Maintenance — durability.
- Shotgun Expert — shotgun damage and spread.
- Rifle Expert — rifle handling.
- Pistol Expert — pistol handling.
- Airgun Expert — air gun efficiency.
- Fast Drawing — swap speed.
- Arrow Recovery — more recoverable arrows.
Firearms is the best tree for co-op and for players who fight at range. The rifle and shotgun nodes are the most generally useful; the bow nodes are for solo stealth.
Fitness
The Fitness tree covers health, stamina, carry weight, and environmental resistance. Confirmed skills include:
- Carry Capacity — more weight.
- Wilderness Metabolism — better food and water efficiency.
- Cold Resistance — less cold damage.
- Light Step — quieter movement.
- Max Health — more health.
- Hemostasis — faster bleeding stop.
- Tough Body — damage resistance.
Fitness is not glamorous, but it is the tree that keeps you alive when a plan fails. Carry Capacity and Max Health are the two nodes most players should take early.
The PDA actives
The PDA terminal unlocks active skills that sit on the skill slot (V by default). The confirmed actives are:
- Grapple — a movement tool, useful for reaching roofs and escaping.
- CAS System — a combat assist system.
- Focused Laser Cannon — a heavy energy attack.
- Western Gunslinger — a quick-draw firearm skill.
- Supreme Intelligence sonic cone — a 45-degree, 20-metre cone with strong knockback and 1.5 seconds of stun, 15-second cooldown, bosses immune. This one is tied to the 1.0.5 Supreme Intelligence content.
Actives share a slot, so you cannot equip all of them at once. Pick the one that covers your build's weakness: Grapple for mobility, the sonic cone for crowd control, the laser for armour.
Builds that work
Solo stealth
- Melee: Ambush, Blade Mastery, Stagger.
- Firearms: Bow Expert, Steady Arm, Arrow Recovery.
- Fitness: Light Step, Carry Capacity.
- PDA: Grapple.
This build clears buildings without noise. It struggles against mechs; carry a rifle for those.
Solo rifle
- Firearms: Rifle Expert, Crit Hit, Ranged Weapon Maintenance.
- Fitness: Max Health, Carry Capacity, Tough Body.
- Melee: Second Wind.
- PDA: CAS System or Western Gunslinger.
The generalist solo build. It handles most content and only needs a shotgun for close-range emergencies.
Co-op point
- Melee: Blade Mastery, Ground Slam, Tough Body.
- Fitness: Max Health, Hemostasis.
- Firearms: Shotgun Expert.
- PDA: sonic cone.
You are the player who opens the door and takes the first hit. Let the marksman kill the specials.
Co-op medic
- Fitness: Max Health, Wilderness Metabolism, Carry Capacity.
- Melee: Second Wind.
- Firearms: Pistol Expert.
- PDA: Grapple.
Your job is to stay alive, carry medical supplies, and revive. Do not spend vials on damage.
Vial economy
The fastest sources of tissue are special infected and the respawning hordes around POIs. Do not farm common infected; they give little. A route that kills two or three specials per trip is better than a route that kills thirty commons.
The enemies guide→ lists the special types and their tells. The beginner guide→ covers the first vial spend.
Respec and mistakes
There is no confirmed full respec in the current build. Treat every vial as permanent. If you are unsure, save the vials and test the skill on a throwaway world with the console; the console guide→ explains how to spawn tissue without touching your story save.
Common mistakes:
- Spreading across three trees. Pick one damage tree and Fitness.
- Buying tier-one nodes everywhere. Save for tier two in your main path.
- Ignoring Carry Capacity. Weight limits every loot run.
- Skipping Max Health. Damage resistance does not replace a bigger bar.
- Testing a new skill in a boss fight. Test it on common infected first.
FAQ
How many skills are in ZED ZONE?
Over sixty across three categories, with six directions and more than twenty paths.
How do I get vials?
Render mutant tissue and special infected flesh at the crafting station. Blue, green, and red vials come from different inputs.
Can I respec?
No confirmed full respec. Spend carefully.
What is the best first skill?
Carry Capacity or Max Health in Fitness, plus one damage node in your weapon tree. Survivability first.
Sources
- ZED ZONE store page ↗ — three skill categories, 60+ skills.
- ZED ZONE news hub ↗ — 1.0.5 Supreme Intelligence skill details.
- ZED ZONE Community guides ↗ — skill names and vial notes.
- ZED ZONE on SteamDB ↗ — build history.
More ZED ZONE Guides
ZED ZONE boss guide: the three Area Guardians, the Supreme Intelligence's three phases, the Giant Mutant Lizard, and the gear each fight demands.
ZED ZONE console commands for 1.0: how to open the console, the four working command types, and a verified item and infected ID table.
ZED ZONE crafting in 1.0: the eight workbenches, the material chain, ammo press recipes, repair kits, and the order to unlock each station.
A ZED ZONE enemies guide: every infected type, the mechs and war machines, the Giant Mutant Lizard, and the tactics that actually work against each.
ZED ZONE Far Island guide: how to repair the boat, the ten new areas, the railway power loop, and a route that reaches Area 61 without wasting trips.
ZED ZONE farming in 1.0: planting pots, twelve crops, watering and fertilizer, mushroom caves, and the recipes that make a farm worth the space.
ZED ZONE food and cooking: clean water, the campfire and hob, meal buffs, preservation, food poisoning, and the best meals before a boss.
A practical ZED ZONE 1.0 guide: what changed, which route to take first, and the systems that decide whether your run survives week one.