
ZED ZONE Beginner Guide: First Week
A ZED ZONE beginner guide for 1.0: the first seven days, from water and a bed to a rifle, a vehicle, and the trip to Far Island.
The first week of ZED ZONE is not about killing zombies. It is about removing the four things that kill new players: bad water, no save point, a noisy weapon, and a backpack full of junk. Once those are solved, the game opens up.
This route assumes Standard mode and a fresh world. It works in co-op, but the host should set the room to private until the group has a base; public rooms attract players who will strip the starting town before you finish the tutorial.
Official source: ZED ZONE on Steam ↗
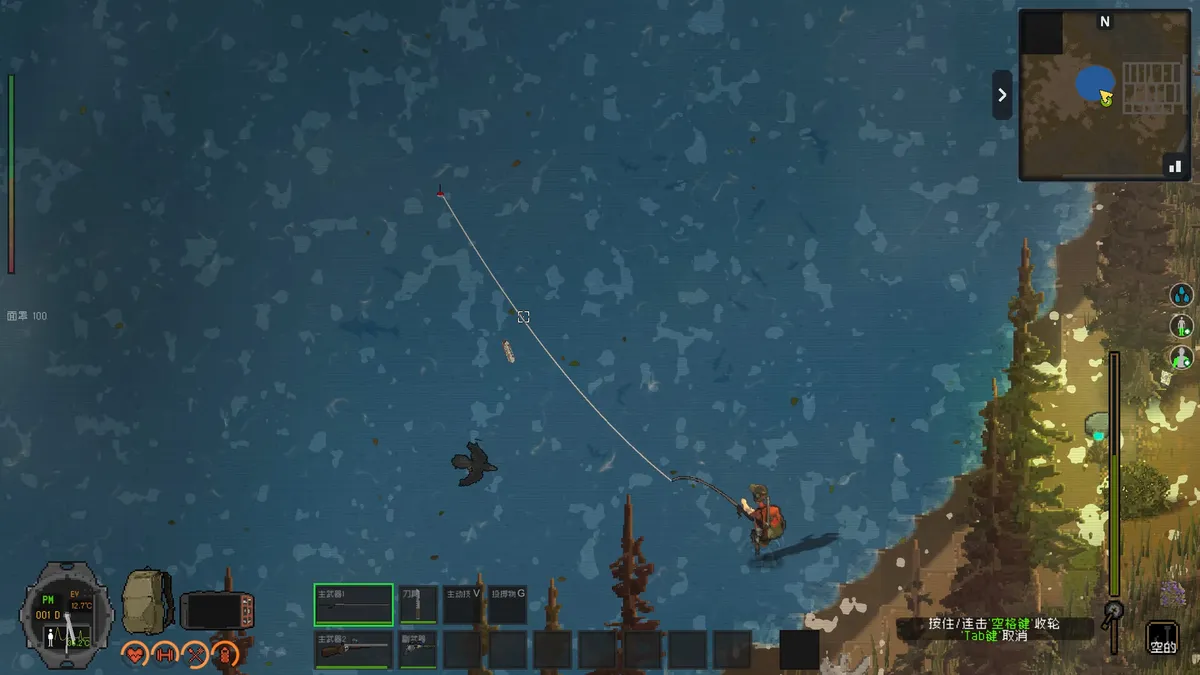
Fill every bottle you find, build a campfire, and cook the water before drinking. Food is easy to replace; a dysentery spiral is not.
Day 1: water, a bed, and a quiet weapon
Leave the crash site with empty hands if you have to. The first priority is a container for water. Plastic bottles, small water bottles, and cans all work; fill them at a rain barrel, a sink, or a well. Do not drink from a puddle. Untreated water can make you sick, and sickness compounds with hunger and fatigue.
Start a fire with wood and a fire-starting tool. Build a cooking hob on top of the fire when you can; it turns contaminated water into clean water and gives you a place to cook meat. The food guide→ covers the full cooking chain, but day one only needs boiled water and cooked meat.
For a weapon, take a crowbar, a stone axe, or a baseball bat. The stone axe is easy to craft and doubles as a chopping tool. A gun is tempting, but a pistol with twelve rounds teaches bad habits: you will shoot a common infected, pull the block, and then have nothing for the special that heard the shot.
Sleep in a house with a door. Close the door, check the room, and use a bed if one is present. Sleeping creates a save point in Standard mode. If the house has no bed, a bedroll works; if you have neither, a quick save (F5) is better than nothing.
Day 2: food that lasts
Berries and canned food carry the first day. By day two you need a repeatable source. There are three:
- Fishing. A wooden fishing rod plus water gives fish, and fish are one of the best early foods because they restore hunger and, when cooked into a meal, add natural health regeneration.
- Farming. Planting pots and seeds are available early. Corn, potatoes, and tomatoes are the reliable staples; mushrooms grow underground. The farming guide→ covers plots and water.
- Hunting. Deer and other animals give meat, but the shot attracts infected. Use a bow if you can, and butcher the carcass away from your base.
Cook raw meat before eating it. Rotten meat is not food; it is a trap. The 1.0.5 patch added meal buffs, so a cooked meal is now worth more than the sum of its ingredients.
Day 3: a base you can defend
Do not build a castle. Build a box with a door, a bed, a fire, a water source, and one chest. Put it near a town you have already cleared, not in the middle of a military checkpoint you cannot hold.
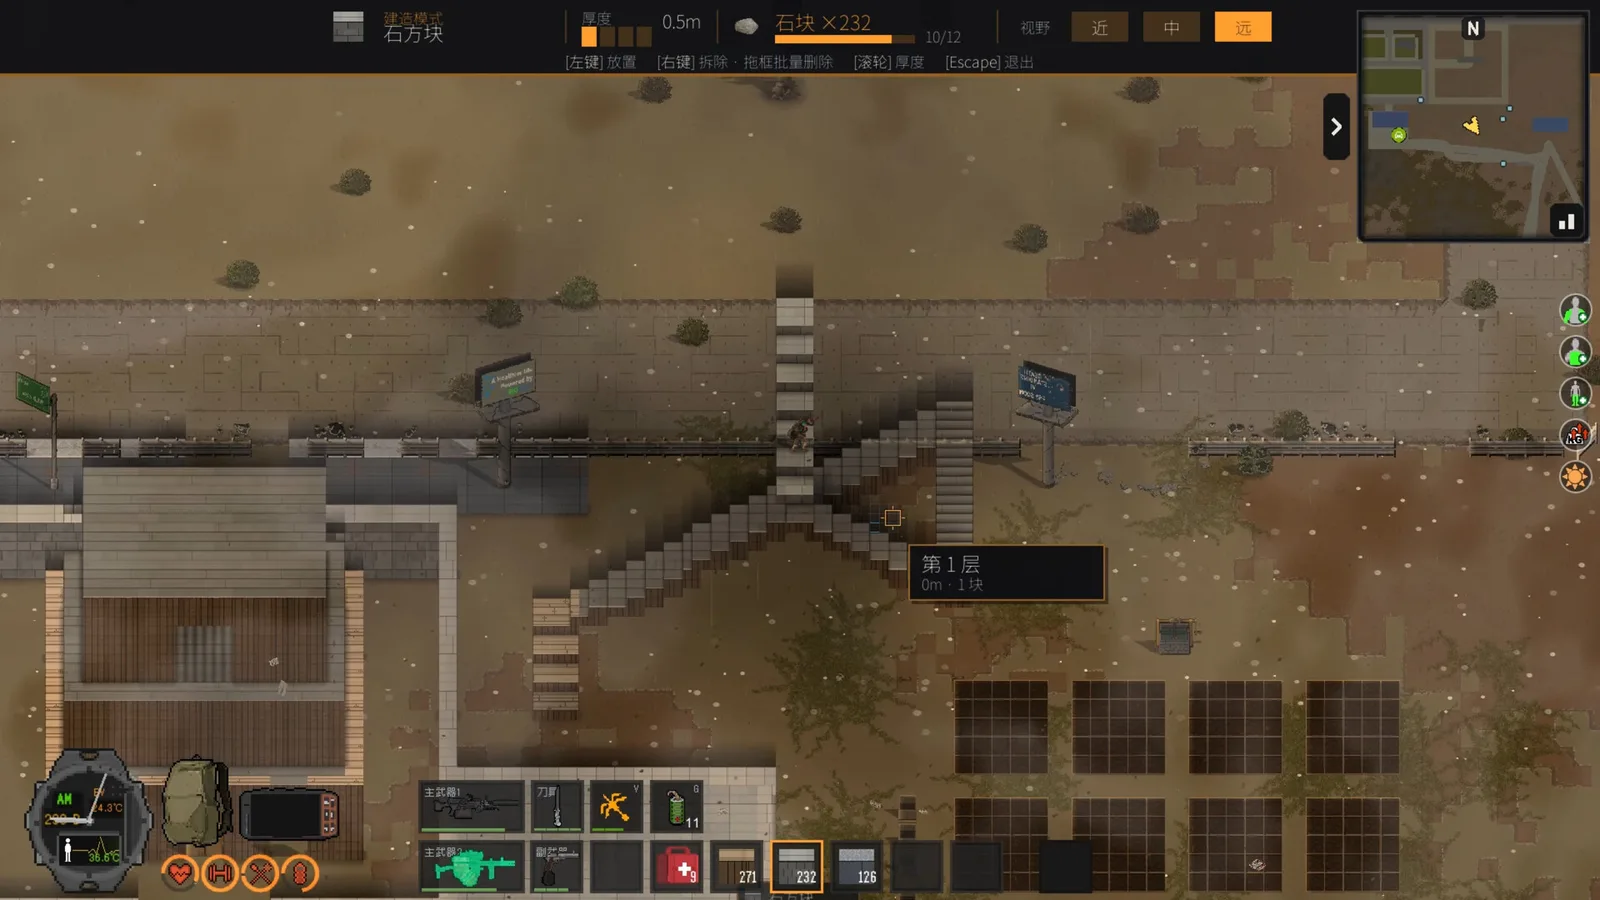
The voxel building system uses wood, stone, metal, glass, and hay blocks. Walls, floors, stairs, and roofs are placeable; furniture and workbenches can go on upper floors. A room counts as indoors when it has four walls, a roof, and a closed door, which keeps the rain off and makes the space usable for cooking and sleeping.
Leave one wall for expansion. Build the workshop first: a simple workbench unlocks the basic recipes, and a fire plus cooking hob solves water. Add a storage chest and a second exit before you add decorative furniture. The base building guide→ has the station order and the voxel rules.
Day 4: the first real gun
By day four you should have enough scrap and ammo for one reliable firearm. The best early candidates are a .22 rifle, a pump shotgun, or a 9mm pistol with a stock of ammo. The Ruger 10/22 lists 81 damage at 300 RPM with 24 noise, which is quiet enough for town clearing and cheap enough to feed. The Remington 870 lists 282 damage and is the answer to a Breaker in a corridor, but shells are heavy.
Do not sell or scrap every melee weapon. Guns jam when damaged, and a jammed rifle in a crowd is worse than a fire axe. Keep a repairable melee weapon on the third slot and a knife for executions.
Ammo is the real constraint. Before you commit to a calibre, check the ammo press and the nearest loot tables. 9mm and .22LR are common; 5.56 and 7.62 are mid-game; .300 Magnum and .50 BMG are boss-only. The best weapons guide→ ranks the guns by ammo economy, not just damage.
Day 5: skills and the first vial
Vials come from mutant tissue and special infected flesh. You render them at the crafting menu into blue, green, or red doses, and each skill tier costs more than the last. Do not spend them the moment you get them.
Pick a primary tree first. Melee gives you better swings, stamina efficiency, and crowd control. Firearms gives you damage, recoil control, and reload speed. Fitness gives you health, carry capacity, cold resistance, and recovery. A new player usually wants one damage tree plus Fitness; a co-op player can specialize harder because a teammate covers the weakness.
The skills guide→ lists the confirmed skill names and the PDA actives. The short version: take a damage perk, a stamina or health perk, and one utility perk before you branch out.
Day 6: a vehicle and a route
Cars are not optional once you start hauling loot. A working car needs fuel, a battery, tires, and a repaired engine or frame. Vehicle repair kits have limited charges; an item repair kit can recharge them. Check the fuel tank before you celebrate a find, and carry a small fuel container.
The 1.0 build adds bicycles, karts, a two-seat kart, an electric forklift, and a self-driving test car. Bicycles are quiet and need no fuel; the forklift can lift corpses and crates off the ground; the self-driving car follows a map destination. For a beginner, a bicycle plus a truck is a better pair than one fast car with an empty tank.
Plan a loop: base, town, water, fuel, back to base. Do not drive into the military checkpoint until you have a rifle and armour. The vehicles guide→ covers repair priorities.
Day 7: the boat and the first guardian
The boat is the gate to Far Island. Repair it on the main island, then sail east. The cabin storage travels with you, so load it with ammo, food, and building materials before you leave. You can return at any time, which means Far Island is an expansion, not a one-way trip.
Do not fight a guardian on day seven. Scout the port, find the train station, and learn the route. The port guardian, the Augmented Security Captain, is the first of the three access-device bosses. If you can kill it, you get a device and a section of railway power. If you cannot, you still have a route and a place to return to.
The Far Island guide→ covers the ten areas and the train rules; the boss guide→ covers the fights.
Mistakes that end runs
- Drinking unboiled water. Sickness drains stamina and health at the worst time.
- Shooting in a town without an exit. Noise pulls the block, and the block has more bodies than you have bullets.
- Building in a high-traffic POI. You cannot defend a military checkpoint with a wooden door.
- Skipping sleep. No save point means a death can erase a day.
- Spreading vials. A shallow build is weaker than a focused one.
- Hoarding guns without ammo. Three rifles in the chest do not help you survive the walk home.
FAQ
How long is the first week?
A day is roughly twenty to thirty minutes of real time if you are looting and building. The seven-day route above is about three to four hours for a new player, faster if you skip exploration.
Do I need a base at all?
Yes, eventually. You need a safe place to sleep, store materials, cook, and craft. A bedroll in a cleared house works for the first night, but a base with a door and a chest saves time.
Can I play the first week in co-op?
Yes. The host's world keeps the base and story progress; guests keep their characters. Set the room to private until the group has a base, and decide whether guests can bring late-game characters.
What should I do before Far Island?
Repair the boat, stock the cabin, get a reliable rifle, and carry radiation protection. The radiation guide→ explains the masks and tablets; you do not need them for the port, but you will need them for the nuclear plant.
Sources
- ZED ZONE store page ↗ — release build and features.
- ZED ZONE news hub ↗ — 1.0 tutorial, farming, meal buffs, known issues.
- ZED ZONE Community guides ↗ — early-game survival notes.
- ZED ZONE on SteamDB ↗ — patch tracking.
More ZED ZONE Guides
ZED ZONE console commands for 1.0: how to open the console, the four working command types, and a verified item and infected ID table.
ZED ZONE crafting in 1.0: the eight workbenches, the material chain, ammo press recipes, repair kits, and the order to unlock each station.
A ZED ZONE enemies guide: every infected type, the mechs and war machines, the Giant Mutant Lizard, and the tactics that actually work against each.
ZED ZONE Far Island guide: how to repair the boat, the ten new areas, the railway power loop, and a route that reaches Area 61 without wasting trips.
ZED ZONE farming in 1.0: planting pots, twelve crops, watering and fertilizer, mushroom caves, and the recipes that make a farm worth the space.
ZED ZONE food and cooking: clean water, the campfire and hob, meal buffs, preservation, food poisoning, and the best meals before a boss.
A practical ZED ZONE 1.0 guide: what changed, which route to take first, and the systems that decide whether your run survives week one.
How to play ZED ZONE in 1.0: the full keyboard map, mode selection, save rules, and the first-hour route that gets a new survivor to a stable base.